RDP SSO Server
Website Documentation for your KeePass client and Pleasant Password Server
(Versions 7.5.2+, Enterprise+SSO)
NOTE: RDP SSO Server is now a legacy module which is no longer supported.
RDP SSO Server allows users to access privileged machines through the standard Remote Desktop Connection client without sharing the username or password with the end user.
Notes:
- An Enterprise+SSO license is required. Contact Us if you would like a trial license for testing purposes.
- Using RDP SSO Server is much slower than a standard RDP connection. Usability and latency issues will be improved upon in future releases.
This page describes the steps needed to setup and use the RDP SSO functionality of Pleasant Password Server. In this scenario, we will assume that we want to connect to a computer called rdp1.
Document Sections:
1. Encryption Requirements
Encryption Levels: RDP SSO attempts to use the highest level of encryption available when building the connections.
- For Windows 7 and Windows Server 2008 R2:
- Install the following update to enable TLS 1.1 and TLS 1.2 in order to use them as the client or target for an RDP SSO connection
- For Windows 10 and Windows Server 2012:
-
When using these machines are running the proxy, these higher levels are enforced by default.
-
2. RDP SSO Setup
Enable RDP SSO
The RDP SSO Service must be enabled on the machine hosting Password Server.
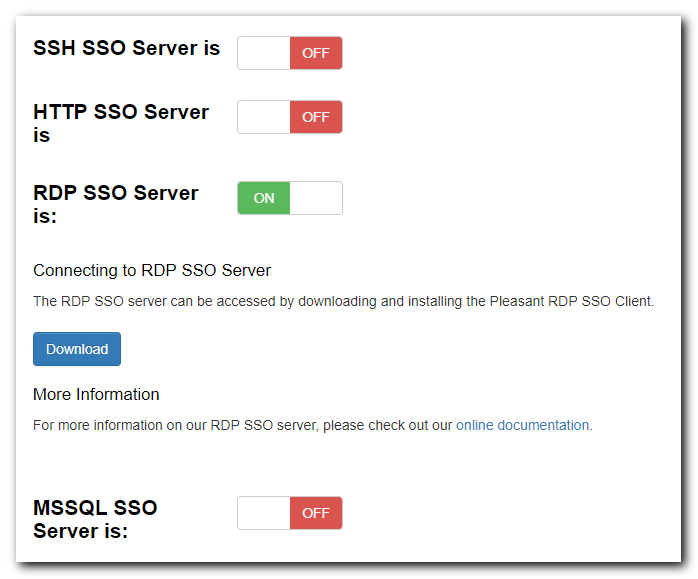
To start the RDP SSO process:
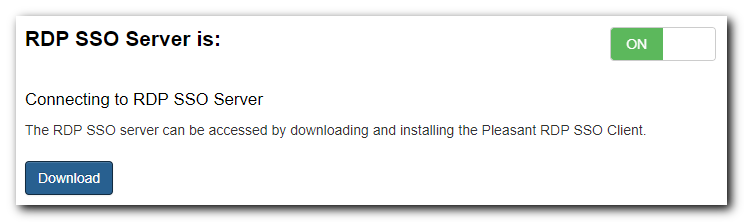
- Navigate to the SSO Server > SSO Server Status window
- Toggle the RDP SSO Server toggle to ON
- The machine hosting the Password Server may open a popup asking for firewall access
- Grant the RDP SSO server access to listen on port 7070
Configure RDP SSO Server
The RDP SSO Settings can be found on the SSO Server > SSO Settings page.

The RDP relevant fields under the Password SSO section are:
-
Password SSO RDP IP Address: This must be set to the IP Address clients will connect to the SSO Server to RDP into the target machines. It will default to the IP of the first network connection that the software detects, but this may not be correct if the machine hosting Password Server has more than one network connection.
-
Password SSO RDP Port: This is the port that the RDP clients will connect to the SSO server on. The default is 7070. If you change the port, restart the RDP SSO Server via the toggle on the SSO Server Status window.
-
Note the IP and Port will be visible to the end user.
- RDP Server Thumbprints: When RDP SSO connects to a new target machine, it will save its public certificate thumbprint to compare against future connections that same machine. If the SSO server finds that a thumbprint received from a target machine does not match the one that it has saved, it will not connect to the machine and log an error.
The saved thumbprints can be viewed by expanding then Saved RDP Server Thumbprints section. If machine's certificate has legitmately changed, the old thumbprint can be forgotten by clicking the Reset button next to it.
Separate Permissions for RDP SSO (Optional)
By default, Access Levels allow SSO functions, however, you may wish to create an SSO Access Level to keep the permissions separate.
This Access Level (below) will allow an end user to Launch RDP SSO without having access to the Computer, Username, or Password. It illustrates the minimum access required to use SSO. If desired, you can add additional permissions.
In this configuration, the user will not have access to any information about the credential.
- Navigate to Access Levels -> Select Add New Access Level -> Enter the following:
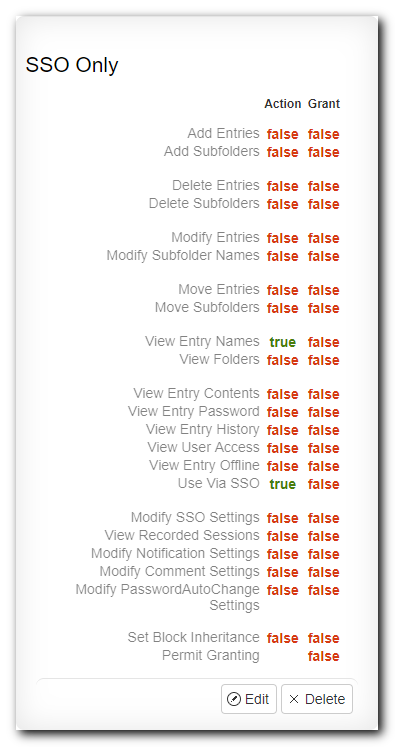
- Click Save
3. Create an RDP SSO Login
Confirm Access Credentials
- From the Password Server computer, Run > Remote Desktop Connection.
- Enter the Computer (ie. rdp1), User name, and Password to confirm the credentials you are using to connect with the remote server are valid and the remote server is active.
Add a Connection Credential
This is the information that RDP SSO with use when logging in to the remote server.
- Login to the Password Server Web Client using your username/password (By Default, https://localhost:10001/)
- Navigate to the Home tab > Add or select a Folder > Select the Add Entry button and enter values:
- Title: (e.g. Remote Machine 1)

- Username: (e.g. rdpuser)
- The domain (if applicable) must be specified in either the Username or URL
- Formats:
- username
- fullyQualifiedDomainName\username
- username@fullyQualifiedDomainName
- Password: (e.g. rdppass)
- Url: (e.g. MyDomain.local\rdp1)
- The domain (if applicable) must be specified in either the Username or URL
- Formats:
- IP Address
- Must include domain name in the username
- fully qualified hostname (eg. rdpserver.mydomain.local)
- hostname
- Must include domain name in the username
- :<port number> can be appended to any of the above formats if the RDP port has been changed on the target (eg. rdpserver.mydomain.local:9000)
- IP Address
- Any additional fields can also be included.
- Title: (e.g. Remote Machine 1)
3. Click Save.
Use RDP SSO Client
1. Install the RDP SSO Client
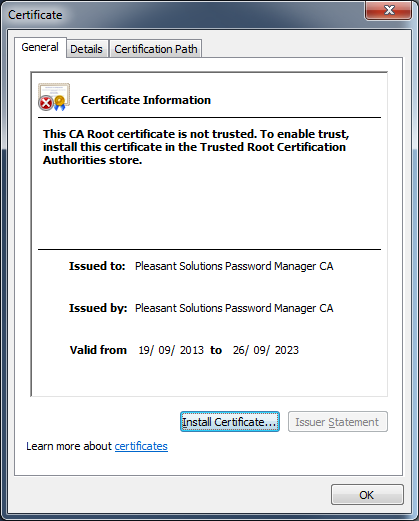
Before connecting to the RDP SSO Server, the end user must first download and install the SSO Root Certificate and the Pleasant RDP SSO Client.
Both downloads are on the SSO Server Status, which the end user can view so long as they have an Access Level permission with Use Via SSO enabled.
Both files can be installed with the defaults selected.

2. Launch RDP SSO
With the certificate and client are installed the end user can now navigate to a credential and select Actions > Launch RDP SSO to open a remote desktop session immediately.
Note: the user must have an Access Level with Use Via SSO enabled for the credential.
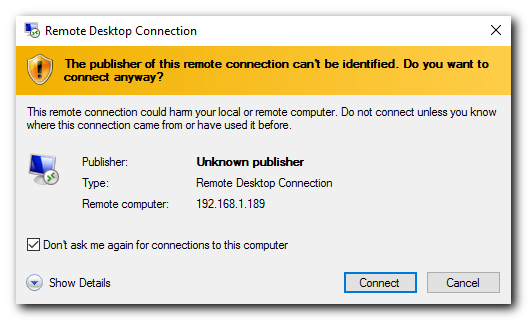
The first time Launch RDP SSO is selected from a particular browser...

You will see a popup asking if you would like to allow the RdpProxy application to open the URL:
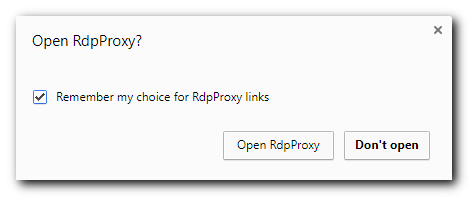
Once allowed the client will launch and Remote Desktop Connection will open automatically, connecting to the target machine via the RDP SSO Server.